Monitoring your blood pressure at home is one of the most important things you can do for your heart health. With accurate, easy-to-use digital monitors now widely available, you no longer need to rely solely on clinic visits to know where your numbers stand. Home monitoring helps you and your doctor track trends over time, catch problems early, and avoid the misleading effect of “white coat hypertension” where readings spike simply because you’re anxious in a medical setting.
This guide covers everything you need to know: what blood pressure is, what the numbers mean, how to choose the right device, and the step-by-step technique for getting an accurate reading at home.
What Is Blood Pressure?
Blood pressure is the force your blood exerts against the walls of your arteries as your heart pumps it through your body. It is one of four vital signs doctors use to assess how well your body is functioning. The other three are:
- Breathing rate
- Body temperature
- Heart rate
If any of these readings are significantly too high or too low, it may signal that something is wrong and that a doctor’s evaluation is needed.
Understanding Blood Pressure Readings
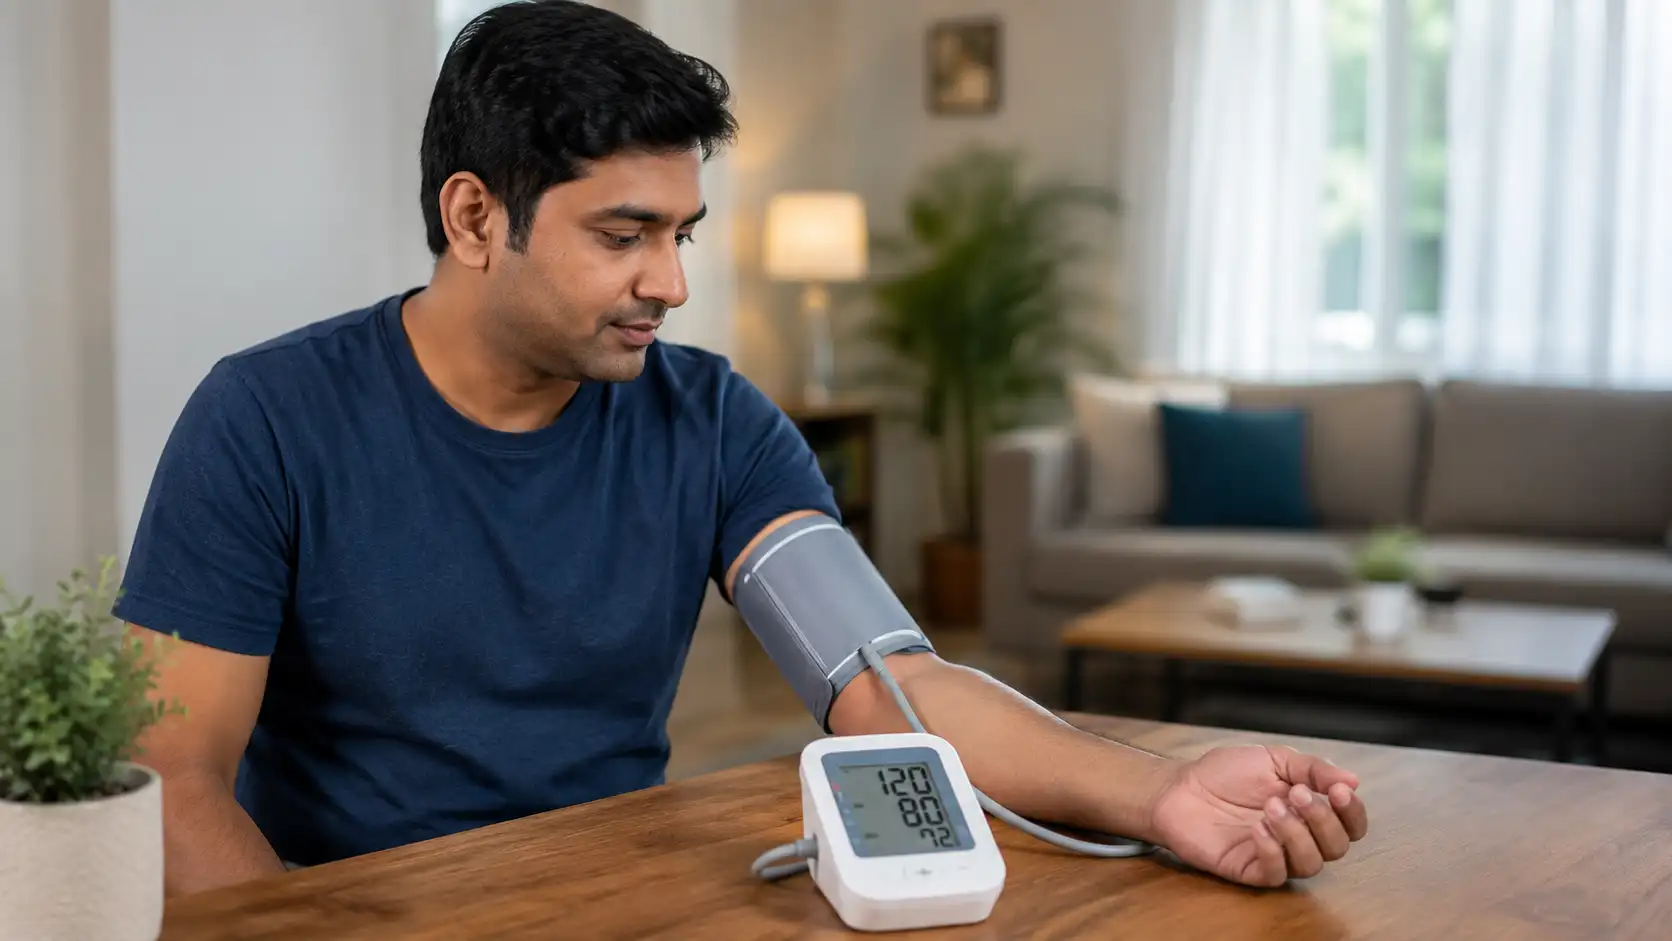
Blood pressure is measured in millimeters of mercury (mmHg) and expressed as two numbers, for example 120/80 mmHg.
Systolic Pressure (Top Number)
This is the pressure in your arteries when your heart beats and pushes blood outward. It is always the higher of the two numbers.
Diastolic Pressure (Bottom Number)
This is the pressure in your arteries between heartbeats, when your heart is resting and refilling. It is always the lower number.
So a reading of 120/80 mmHg means a systolic pressure of 120 and a diastolic pressure of 80.
Blood Pressure Categories (AHA/ACC Guidelines)
The American Heart Association (AHA) and American College of Cardiology (ACC) classify blood pressure into the following categories for adults:
Category | Systolic (mmHg) | Diastolic (mmHg) | |
Normal | Less than 120 | AND | Less than 80 |
Elevated | 120–129 | AND | Less than 80 |
Stage 1 Hypertension | 130–139 | OR | 80–89 |
Stage 2 Hypertension | 140 or higher | OR | 90 or higher |
Hypertensive Crisis | Higher than 180 | AND/OR | Higher than 120 |
Important correction from older guidelines: The outdated threshold of “140/90 as the starting point for hypertension” is no longer current. Under AHA/ACC guidelines, hypertension begins at 130/80 mmHg. If your reading is at or above 180/120, seek emergency medical care immediately.
High Blood Pressure (Hypertension)
When blood pressure is consistently elevated, the arteries face increased resistance to blood flow. Over time, this damages artery walls, strains the heart, and raises the risk of heart attack, stroke, kidney disease, and even dementia.
Symptoms of Hypertension
Hypertension is often called the “silent killer” because it typically develops over many years with no noticeable symptoms. When symptoms do appear, such as headaches, nosebleeds, or shortness of breath, they usually indicate blood pressure has already reached a severe or dangerous level. The only reliable way to know your blood pressure status is to measure it regularly.
Treatment of Hypertension
Treatment depends on the severity of your readings and your overall cardiovascular risk. Your doctor may recommend:
- Lifestyle changes: Reducing salt intake, increasing physical activity, maintaining a healthy weight, limiting alcohol, and quitting smoking
- Medication: If lifestyle changes are insufficient, antihypertensive medications may be prescribed
Regular home monitoring helps your doctor track whether treatment is working.
Low Blood Pressure (Hypotension)
Low blood pressure (hypotension) is generally defined as a reading below 90/60 mmHg in adults. For most people, it is temporary and not dangerous. However, when blood pressure drops too low, vital organs may not receive enough blood.
Types of Low Blood Pressure
- Orthostatic hypotension – A sudden drop when standing up
- Neurally mediated hypotension – Caused by faulty brain-heart communication, often after long periods of standing
- Postprandial hypotension – A drop after eating, more common in older adults
- Severe hypotension – Associated with shock, which is a medical emergency
Symptoms of Hypotension
- Dizziness or lightheadedness, especially when standing
- Fainting or near-fainting
- Blurred vision
- Fatigue or weakness
- Nausea
- Lack of concentration
Treatment of Hypotension
Treatment depends on the underlying cause. Doctors often recommend increased fluid and salt intake, dietary changes, compression stockings, and medication adjustments. Lifestyle changes, such as standing up slowly and eating smaller meals, can significantly reduce symptoms.
Choosing the Right Blood Pressure Monitor
Before you learn how to take a reading, you need the right tool.
Upper Arm Cuff vs. Wrist Monitor
The AHA strongly recommends an automatic, cuff-style upper arm (bicep) monitor for home use. Wrist and finger monitors are less reliable because blood pressure varies between the upper arm (brachial artery) and the wrist (radial artery), and wrist devices are extremely sensitive to positioning errors, often producing falsely high readings.
Wrist monitors may be an option for people who cannot use an arm cuff for medical reasons, but always consult your doctor first.
Make Sure the Cuff Fits
Cuff size matters enormously. A cuff that is too small will give an artificially high reading; too large, and the reading may be falsely low. Measure the circumference of your upper arm midway between your elbow and shoulder:
- Most standard cuffs fit arms of 9–17 inches in circumference
- Larger and smaller cuffs are available separately
Wrapping a standard cuff on an arm that needs an extra-large size can inflate your systolic reading by up to 19.5 mmHg, enough to misdiagnose hypertension.
Choose a Validated Device
Not all monitors on the market have been independently tested for accuracy. Look for a device that has been clinically validated. You can check a list of validated monitors at validatebp.org, as recommended by the AHA and American Medical Association.
How to Check Blood Pressure with a Digital (Automatic) Monitor
Step 1: Prepare Properly
For at least 30 minutes before your reading:
- Do not smoke, drink caffeine or alcohol, or exercise
- Empty your bladder (a full bladder can raise your reading)
- Rest quietly for at least 5 minutes
- Do not talk, check your phone, or watch stressful content during this rest period
Step 2: Sit in the Correct Position
Correct posture is one of the most commonly overlooked factors in accurate readings.
- Sit in a firm, straight-backed chair with your back fully supported, not on a sofa or armchair
- Keep both feet flat on the floor; do not cross your legs or ankles (crossing legs can raise systolic pressure by 2–8 mmHg)
- Rest your arm on a flat surface such as a table, with your upper arm at heart level
- Keep your arm relaxed; do not tense your muscles
- Leave your arm hanging at your side or resting in your lap? Research shows this can inflate readings by 4–7 mmHg
Step 3: Apply the Cuff Correctly
- Always place the cuff on bare skin, never over clothing (even a thin layer can affect accuracy; thick clothing can skew readings by up to 15 mmHg)
- Position the bottom edge of the cuff approximately 2 cm (about 1 inch) above the bend of your elbow
- The cuff should be snug but not tight; you should be able to slip one finger underneath it
- The cuff’s artery marker (if present) should be aligned over your brachial artery on the inner arm
Step 4: Take the Reading
- Remain still and silent while the cuff inflates and deflates; do not talk, move, or laugh
- Wait for your device to display the reading
Step 5: Take Multiple Readings
A single measurement is not reliable. Instead:
- Take 2–3 readings, waiting 1 minute between each
- Record all readings
- Use the average of the last two readings as your result
Pro tip: The first time you monitor at home, take readings on both arms. If there is a consistent difference of more than 10 mmHg between arms, mention this to your doctor. Going forward, use the arm with the higher reading.
Step 6: Record and Track Your Results
Keep a log of your readings, noting the date, time, and which arm was used. Many digital monitors have built-in memory and companion apps for easy tracking. Share these records with your doctor at each visit, as pattern data over days and weeks is far more clinically useful than a single clinic reading.
Step 7: Measure at the Same Time Each Day
Blood pressure naturally fluctuates throughout the day. For consistency, measure at the same time each morning and evening. Morning readings should ideally be taken before you take any blood pressure medication.
How to Check Blood Pressure with a Manual (Analog/Aneroid) Monitor
Manual measurement requires a blood pressure cuff with a squeezable bulb, an aneroid gauge (sphygmomanometer), and a stethoscope. This method is more technically demanding and harder to perform on yourself, but it is useful to understand how it works.
What You Need
- Blood pressure cuff and inflatable bulb
- Aneroid (dial) gauge/sphygmomanometer
- Stethoscope
Steps
- Prepare and position yourself as described above: rested, seated properly, cuff on bare skin above the elbow.
- Inflate the cuff by squeezing the bulb until the gauge reads approximately 30 mmHg above your expected systolic pressure. If you don’t know your usual pressure, inflate to around 180 mmHg and adjust based on experience.
- Place the stethoscope with the flat diaphragm side inside the elbow crease, over the brachial artery (the inner arm, where you can feel a pulse).
- Slowly release the air from the cuff by opening the valve; aim for a deflation rate of about 2–3 mmHg per second.
- Listen for the first “whoosh” or thumping sound (called a Korotkoff sound). The number on the gauge at this moment is your systolic pressure.
- Continue deflating slowly and keep listening. When the sound completely disappears, note the gauge reading. This is your diastolic pressure.
- Record your reading (e.g., 120/80 mmHg).
Common Mistakes That Lead to Inaccurate Readings
Avoid these errors for more reliable measurements:
- Arm hanging at the side or resting in lap: always support the arm at heart level on a flat surface
- Crossed legs: raises systolic pressure by 2–8 mmHg
- Measuring over clothing: always use bare skin
- Talking or moving during measurement: stay still and silent
- Not resting beforehand: wait at least 5 minutes
- Taking only one reading: always take 2–3 readings and average them
- Wrong cuff size: measure your arm circumference before buying a monitor
- Measuring immediately after caffeine, exercise, or smoking: wait at least 30 minutes
- Full bladder: use the bathroom first
When to See a Doctor
Home monitoring complements, but does not replace, professional medical care. Contact your doctor if:
- Your readings are consistently at or above 130/80 mmHg
- Your readings are consistently below 90/60 mmHg and you feel unwell
- You get a reading above 180/120 mmHg: this is a hypertensive crisis. Seek emergency care immediately, especially if accompanied by chest pain, shortness of breath, severe headache, or vision changes
- You notice a consistent difference of more than 10 mmHg between your two arms
A Note on “White Coat Hypertension” and “Masked Hypertension”
Some people have higher blood pressure readings at the doctor’s office than at home due to anxiety; this is called white coat hypertension. Others show normal readings at the clinic but elevated readings at home, a condition called masked hypertension. Home monitoring is one of the best ways to detect both of these patterns, giving your doctor a more accurate picture of your true blood pressure.
Conclusion
Checking your blood pressure at home is straightforward when done correctly. The key points to remember are: use a validated upper arm monitor, prepare properly, sit in the correct position, always use bare skin, take multiple readings, and track your results over time. Blood pressure problems, whether high or low, are far easier to manage when caught early, and consistent home monitoring gives both you and your doctor the data needed to make informed decisions about your health.
This article is for informational purposes only and does not constitute medical advice. Always consult a qualified healthcare professional for diagnosis and treatment